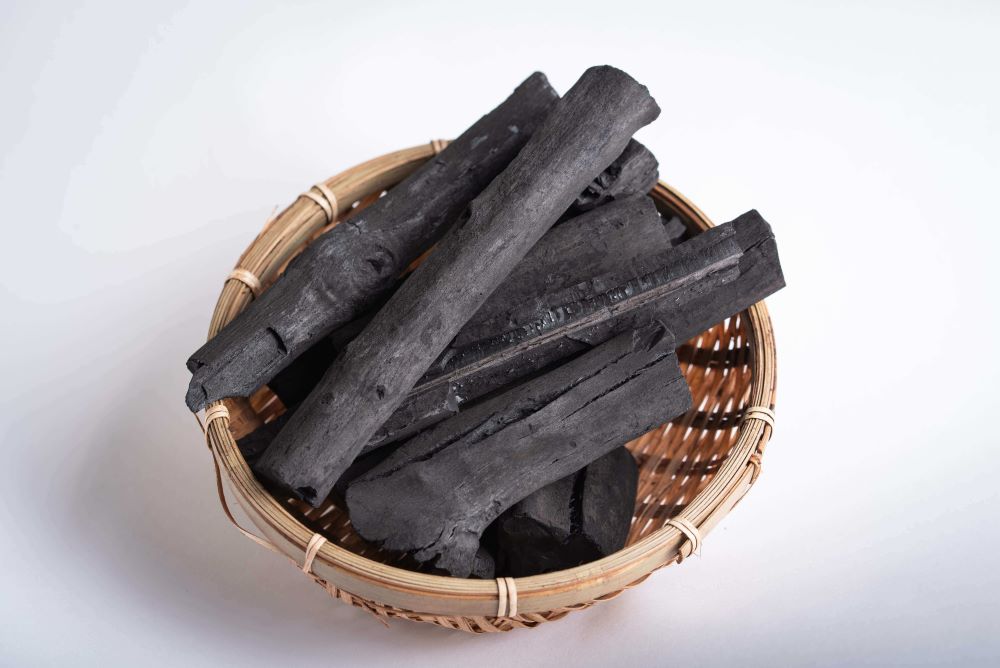
How to Light Binchotan Charcoal in Your Hibachi Grill
Picture this: you're standing before your hibachi grill, premium binchotan hibachi charcoal in hand, ready to begin your Japanese grilling adventure. But getting that perfect white-hot glow isn't as simple as lighting regular charcoal. Don't worry – we'll guide you through every step of properly lighting your binchotan, from selection to first heat.
- Choosing Your Charcoal
- Preparation Steps
- Lighting Methods
- Temperature Guide
- Troubleshooting
- Expert Tips
Why Binchotan Hibachi Charcoal Is Different
If you're new to Japanese hibachi charcoal, you might be wondering why it needs special treatment. Our white binchotan isn't your ordinary BBQ fuel – it's a premium grilling charcoal that, when lit correctly, delivers:
- Intense, consistent heat (reaching 7870 kcal/kg)
- Long, steady burning (4-5 hours of cooking time)
- Almost no smoke or odour
- Pure, clean heat that lets food flavours shine
Experience premium grilling with our Chef Edge White Binchotan Charcoal
Before You Begin: Choosing Your Hibachi Charcoal
Think of selecting binchotan pieces like choosing ingredients for a special meal – quality matters. Here's what to look for:
The Perfect Pieces
Good binchotan should:
- Feel heavy for its size
- Ring like glass when tapped together
- Have a silvery-gray surface
- Show no signs of crumbling
- Measure between 3-8 cm in diameter
How Much Do You Need?
For your hibachi grill, plan on:
- Small grill (2-3 people): 400-500g
- Medium grill (3-4 people): 600-700g
- Large grill (4+ people): 800-1000g
"Always have a bit extra charcoal on hand," advises Sam Haigh. "It's better to have too much than run short during cooking."
Getting Ready: Hibachi Lighting Preparation
Before you reach for that lighter, let's get everything ready. Proper preparation makes all the difference between frustration and success.
Your Hibachi Binchotan Charcoal Lighting Kit
Gather these tools:
- Charcoal chimney starter
- Heat-resistant gloves (proper grilling gloves, not oven mitts)
- Long metal tongs (at least 30cm long)
- Fire starters (natural ones work best)
- Metal grate (for traditional method)
- Small fan or traditional uchiwa fan (optional but helpful)
Safety Setup
Create your lighting station:
- Choose a flat, stable surface
- Clear the area of anything flammable
- Keep your tools within easy reach
- Have a spray bottle of water nearby
- Ensure good ventilation
Lighting Your Binchotan Charcoal: Two Proven Methods
Modern Method: Using a Chimney Starter
This is the most reliable method for beginners and experts alike.
Step 1: Stack Your Starter
- Place your fire starter in the chimney base
- Start with smaller pieces of binchotan
- Add larger pieces on top
- Leave some space for air flow
Step 2: The Lighting Process
- Light your fire starter
- Watch for the first signs of glowing (about 5 minutes)
- Look for white ash beginning to form (15-20 minutes)
- Check for orange-red centers through the top
"You'll know it's working when you see a subtle orange glow climbing up through the charcoal," says Sam. "Don't rush this process – good binchotan needs time to reach proper temperature."
Traditional Method: The Classic Approach
This method requires more skill but gives you great control.
Step 1: Create Your Base
- Set up a metal grate raised about 10cm
- Place fire starters underneath
- Arrange your charcoal on top
- Ensure good airflow all around
Step 2: Building Heat
- Light the fire starters
- Use your fan to provide steady airflow
- Watch for the charcoal to begin glowing
- Rotate pieces as needed for even heating
Understanding Binchotan Temperature Development
Learning to read your binchotan charcoal's temperature stages is crucial for perfect grilling. Here's what to look for:
The Heating Stages
Your binchotan charcoal will progress through these phases:
Initial Phase (0-10 minutes)
- Charcoal appears unchanged
- Minimal visible heat
- You might see light smoke
Development Phase (10-20 minutes)
- Orange glow begins
- White ash starts forming
- Heat becomes noticeable
Ready Phase (20-30 minutes)
- Centres glow orange-red
- Most surfaces show white ash
- Heat waves clearly visible
- Almost no smoke
Know When It's Ready
Your binchotan is ready to cook when:
- Pieces are covered in white ash
- Centres glow bright orange
- You feel strong, steady heat
- Smoke has virtually disappeared
When Things Go Wrong: Troubleshooting Guide
Even experienced hibachi grillers sometimes need help. Here's how to handle common issues:
Charcoal Won't Light
- Check your airflow
- Verify charcoal quality
- Ensure fire starter is adequate
- Try smaller pieces to start
Uneven Heating
- Rotate pieces more frequently
- Check for overcrowding
- Ensure proper air circulation
- Add fire starters if needed
Pro Tips for Perfect Binchotan Charcoal Lighting
"These tips come from years of lighting binchotan in all conditions," shares Sam. "They'll save you time and frustration."
For Best Results
- Start with room temperature charcoal
- Use quality fire starters
- Be patient with the process
- Watch for even ash development
- Keep spare charcoal warming nearby
Avoid These Common Mistakes
- Never rush the lighting process
- Don't overcrowd your chimney
- Avoid using liquid starters
- Never use regular BBQ charcoal methods
Ready to Start Hibachi Grilling?
Once your binchotan is properly lit and glowing, you're ready for authentic Japanese grilling. But remember – great grilling starts with proper charcoal preparation.
Shop our premium binchotan charcoal
Need more guidance? Explore our complete hibachi grilling series:
This is Part 2 of our comprehensive hibachi mastery series. Continue to Part 3 to learn about temperature control techniques.
Last Updated: December 19, 2024
Share
